Ruth
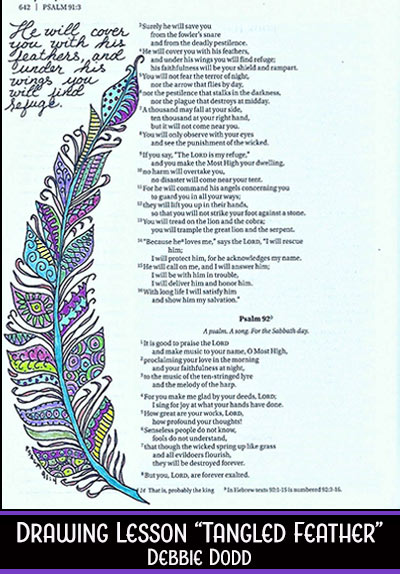
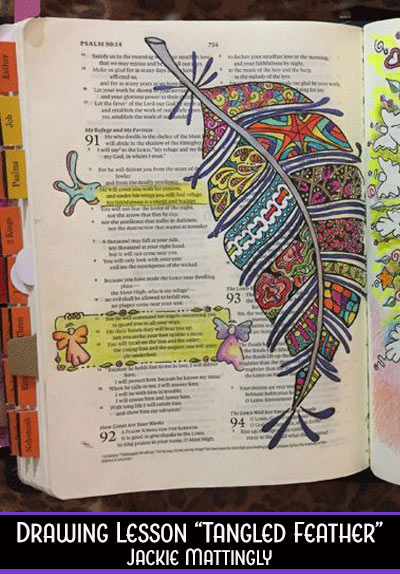
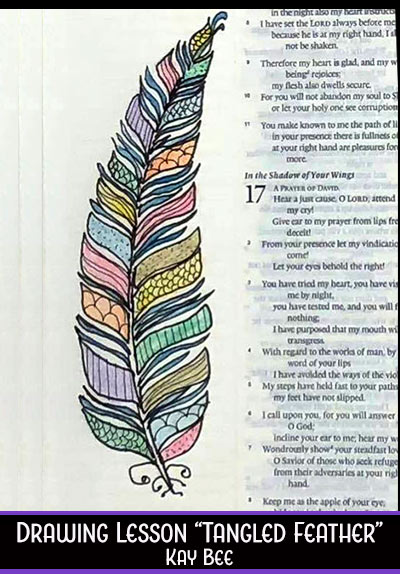
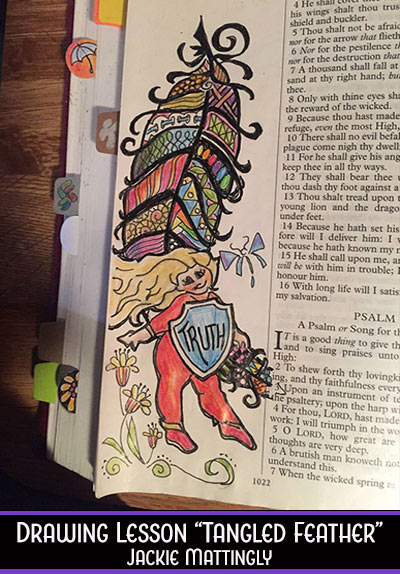
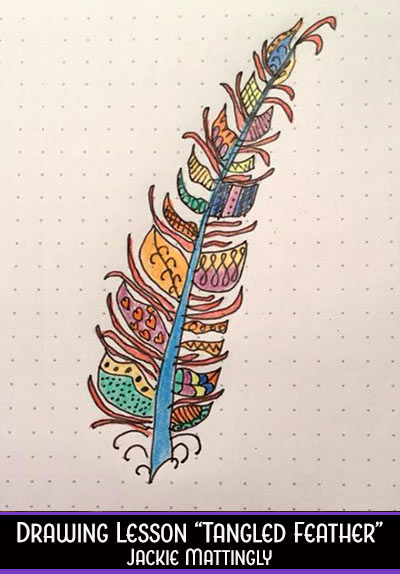
Drawing Lesson “Tangled Feather”
Everyone can draw using
Step-By-Step Tutorials
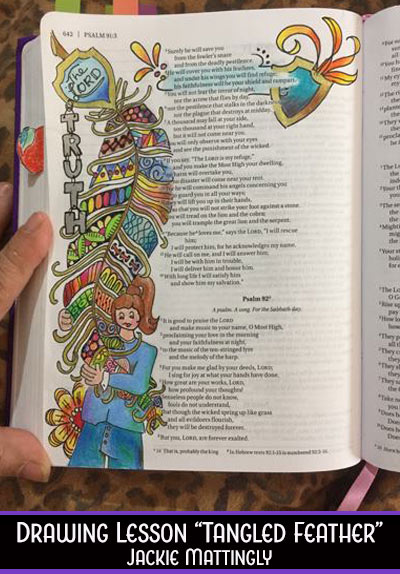
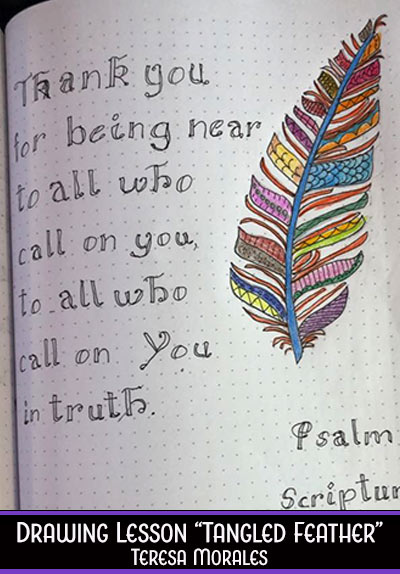
Members’ Examples


Debbie’s Drawing Tips
Please read by clicking on the "blue toggle buttons"
"P-I-E"
The most important concept in our Drawing program is “P-I-E”: Pencil-Ink-Erase.
Start drawing lightly in PENCIL, preferably using dot grid or graph paper. Take your time and follow each step, reading the tips in each box. Many of our lessons show the step you should be doing in RED lines, rather than black ones. (not all of them, but some)
Next, INK over the pencil marks of your best efforts. A good black fineliner, or other color, is perfect for this. (Prismacolor or Micron .03mm pen is a favorite).
And lastly, ERASE the pencil marks, but only after the ink is dry. You will be happy with how clean your drawing looks after you brush away the eraser crumbs.
If you would like to transfer your drawing to your bible, without drawing it again, you may TRACE your inked drawing into your bible with a PENCIL, then INK, and lastly ERASE (some tips shown at right)
You may color the finished drawing in your bible or draw and color on vellum or other specialty paper to make a “tip in” for your bible.
Why Use Dot Paper? and How To Count?
How to count – the directions will refer to numbers of “units”. A unit is the space ‘between’ two vertical or horizontal dots. So that is to say, a line of 3 units will cover 4 dots.
Each Step... Read, See, Draw
Seeing the “new” step – Occasionally, you will see lessons that shows the ‘new’ part of the drawing in red or pink over the prior steps, which are shown in gray or black. We have done this to clarify the details.
Drawing each step – Use pencil as you draw and do it lightly. Drawing too dark or pressing too hard will undoubtedly make it difficult to erase after you have inked your work. It is usually easier to get accurate lines when using a ‘sketching’ style rather than trying to draw a solid line in one stroke.
Art In Your Bible... Transfer, Tracing, Free-Hand
1) the “Graphite Method” using graphite paper or #2 pencil to scribble on the back of your drawing, lay it on your bible page with a firm surface behind the page, trace over your drawing to transfer the lines to the bible page.
2) display a bright screen on your tablet or iPad and slip it behind the bible page, insert the drawing between them and use a pencil to trace the art.
3) use an artist’s light tracing pad, in place of the tablet, to trace your drawing.
4) if you have drawn the art several times for practice you can try following the same steps in pencil, directly into your bible.


It’s your turn… Create & Share
Share your page in the comments here, or click link to go to >> CBJ Facebook group
Click to Shop Christianbook.com and
support CBJ, at no extra cost to you!
www.Christianbook.com