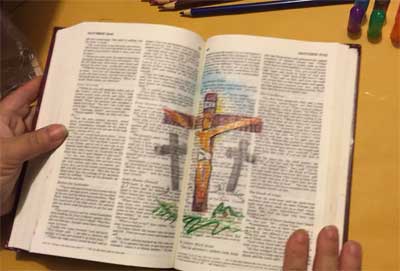
This stamping project works equally well as a tip in or full page across type.
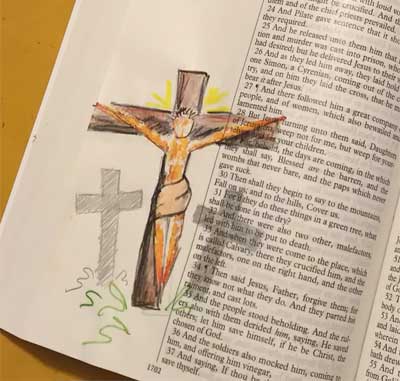
You can leave your art simple with just the crosses and Jesus.

Or you can embellish the art using inspirations from the verses.
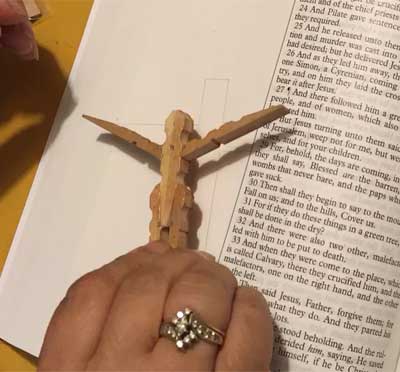
Using Clothes Pins to make abstract illustration of Jesus on the cross
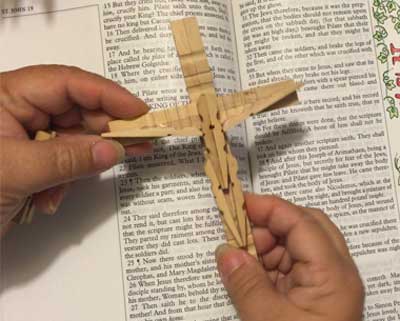
For this project I will be using the size of Crucifix that is approximately 5.5″ tall
It was made with Clothes Pins that were 1 7/8″ tall
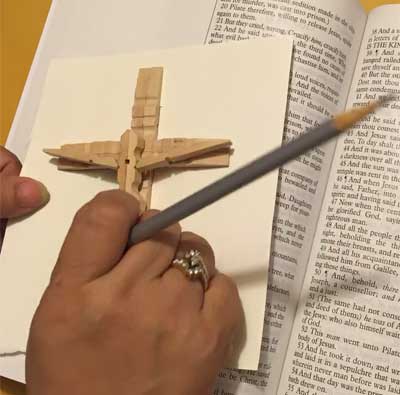
If you have not made a clothes pin crucifix that you can trace around for a stencil of the cross use a pair of the clothes pin pieces to trace around.
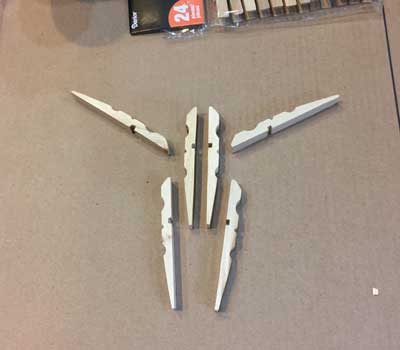
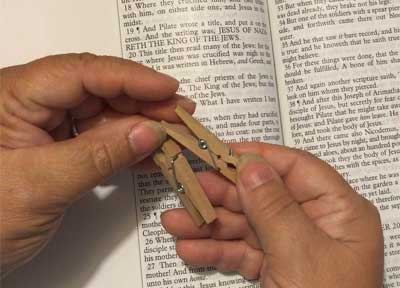
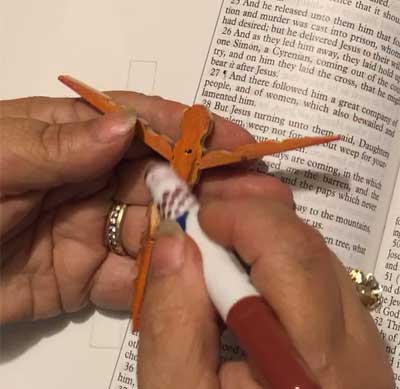
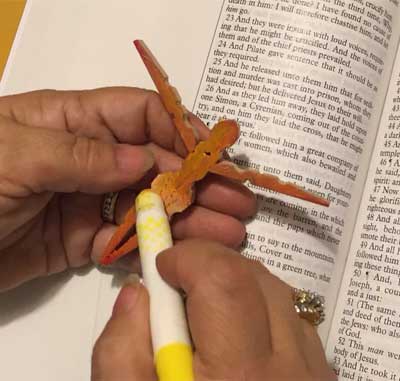
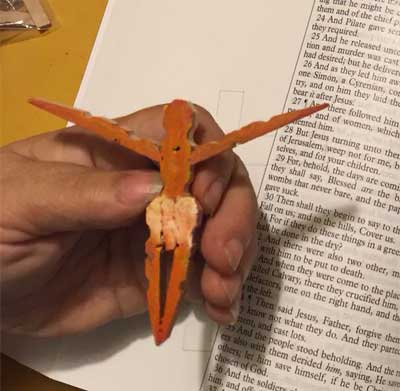
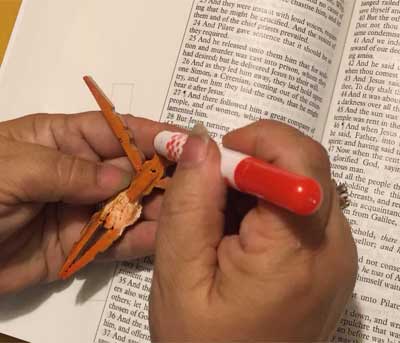
Dismantle 3 clothes pins in order to make the body of Jesus
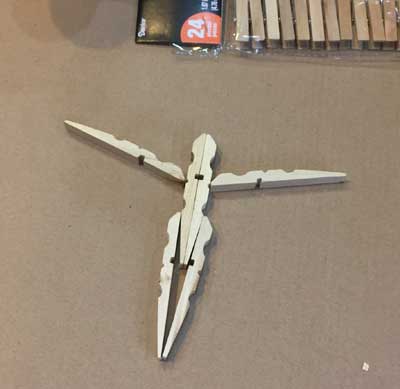
Use wood glue or hot glue to assemble the body of Jesus. Make sure his hands do not rise above his head.
I recommend that you do several Crucifix illustrations on plane paper first, before you do it in your Bible, just to get the hang of the abstractness of this project. If you really like your sample art you can place it as a tip-in at one of the other verses in Matthew, Mark, Luke or John.
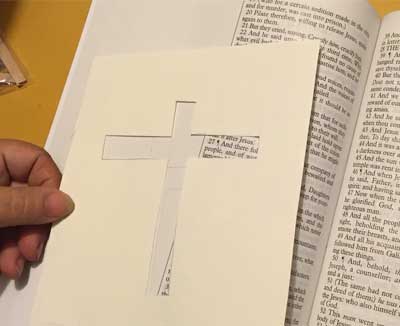
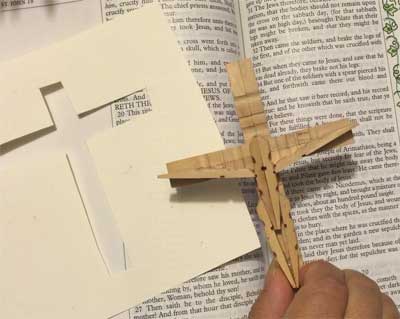
After you have made a stencil from the cross you can slide it around on the page and determine exactly where you want your largest cross to be. Take into account the two smaller crosses, one to each side of the larger cross that will be added later.
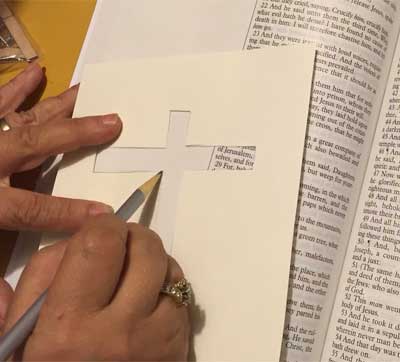
Lightly sketch the outline of your cross.
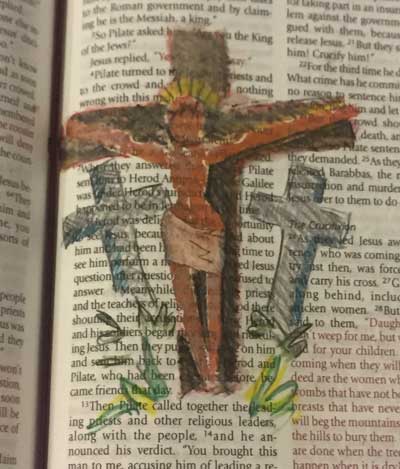
After determining the placement of the sun, cover the entire body of Jesus in a medium color, put a darker color on the shade side of Jesus (Brown or Purple both work well for shading) and a lighter color on the highlight side. Throw in a tiny bit of abstract colors in the shadows and highlights.
My preferred gell crayons came from Target, but they don’t carry them anymore. Crayola Twistable Slick Stixs works well and so do Gelatos, but I don’t care for the metalic or glitter Gelatos at all, for this project.
We are going to put a “loin cloth” on our little Jesus. So you don’t want to put “a lot” of color around his hips. For the loin cloth, if you don’t have white, just don’t put any color in that area except for shading.
You will want to put just A LITTLE red across Jesus’s forhead, where the crown of thorns will be. Don’t use to much, you can always add more later if you want.
Place Jesus’s body on the cross, making sure his hands and feet are over the wood of the cross.

Without moving, which would cause a smear, press firmly on Jesus’s head, body, legs and both arms.

Position stencil of cross, matching original sketch lines.
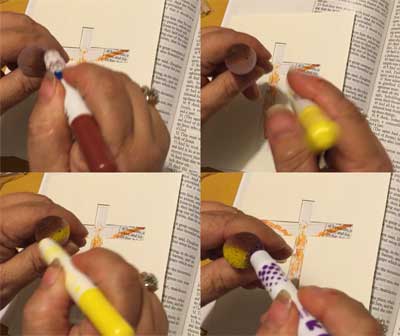
Dab brown, plus a dark and light color on a “foam stomper”. I used brown and purple and yellow.
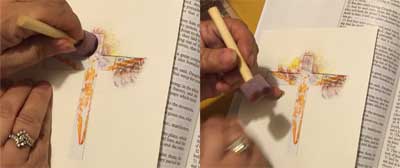
Stomp color through the stencil anywhere that should be wood.
The colors can be very abstract since we are going to use colored pencils for the detail.
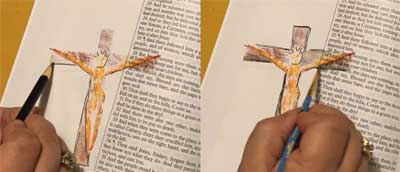
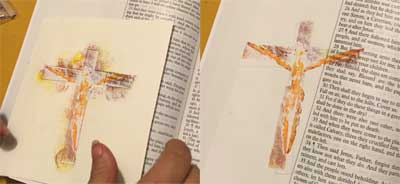
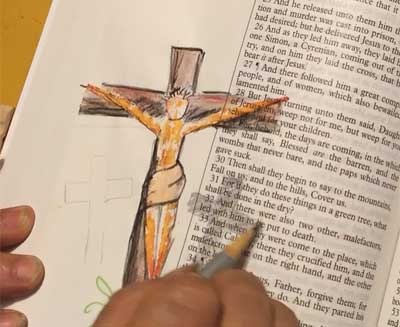
Once the product you have used to color your body of Jesus and the Cross has dried thoroughly, You will begin adding detail and shadows to the outlines of the cross, Jesus’s body, and the crown of thorns. Remember to not add TO MANY details. Less is definitely more.
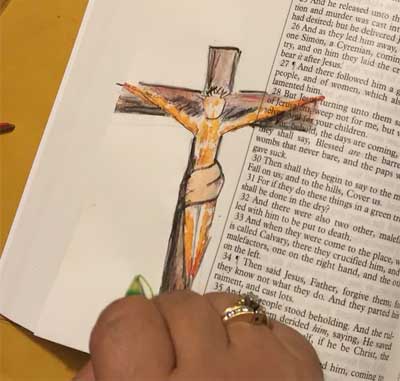
Remember where you want the sun, begin by shading the far side of the body and cross. As silly as it sounds, it may help to place a yellow post-it note where you want the sun, to keep focused on where the shadows should be. Start with your colors light and build layers of shadows.
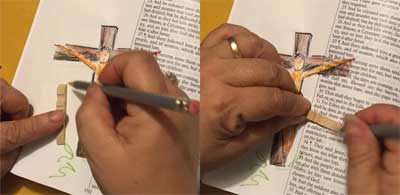
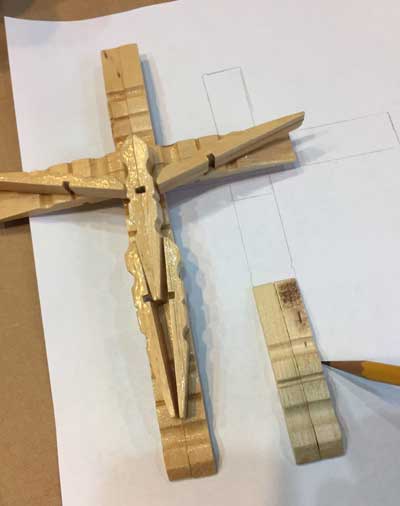
I used a single clothes pin to outline the lesser crosses. The full pin for the vertical portion and a little more than half the length of the clothes pin for the horizontal bar.
The two lesser crosses are only “in shadow” and have very little detail.
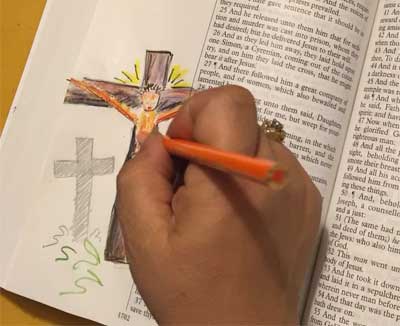
Ad bits of abstract colors and details. Make sure you have shadows under the chin and on wood of the cross from where there should be shadows from the body and on the lower sides of the body.